
Discover how to carve a ham in the ideal way to enjoy all its flavour and texture

A slice of ham is at its absolute best when freshly sliced. We help you master this technique with simple instructions that will grant you, your family, and your friends unforgetable moments.
SLICE BY SLICE
Once slicing is mastered you will be obtaining thin translucent slices, treasuring aroma and flavour.
UTENSILS FOR HAM CARVING
· HAM HOLDER
Were we will secure the ham
· UNIVERSAL KITCHEN KNIFE
With a wide blade and approximately 13 cm long
· Ham carving knife
Thin bladed flexible knife approximately 25 cm long
· Knife Sharpener.
It’s necessary to always have a sharp ham carving knife

let’s do it
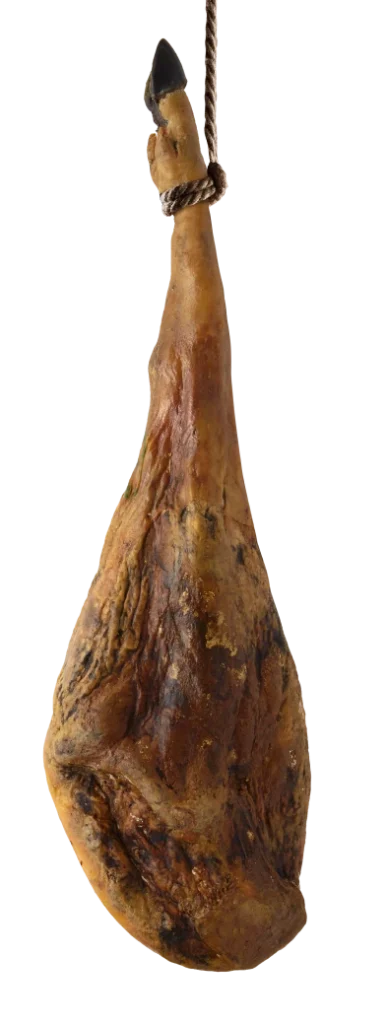
We will start by placing the ham in the ham holder, as it will be used for home consumption we will position it with the hoof pointing down, this offers the thinnest and most cured part to cut first. Once this side is consumed we will turn the ham around, it will then expose the thickest and juiciest part of the ham that allows us to enjoy the ham slowly while it continues to cure.
STEP 1
Placement and cutting
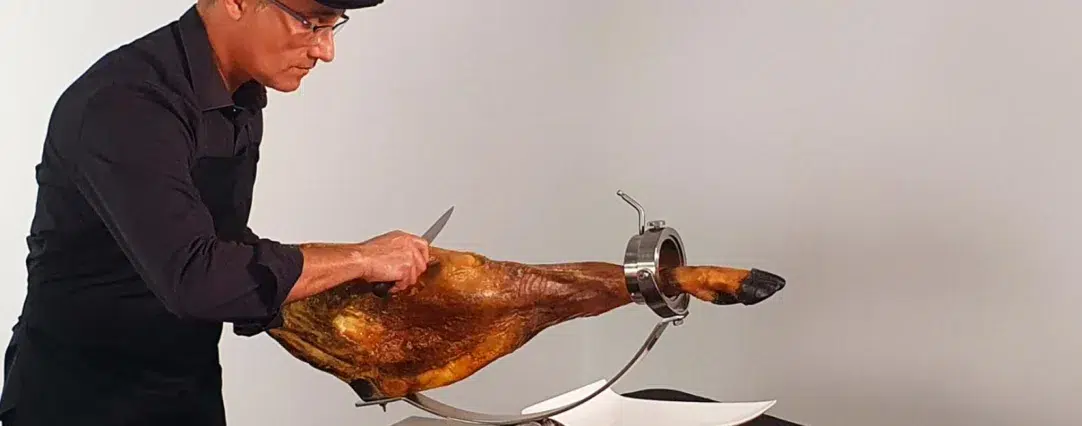
In first place we will make a cut just where the hoof bone ends and will mark the end of our cuts. Furthermore, it makes it easier to obtain the slice. Following we will partially clean the ham by clearing the area that we are going to carve and consume. We mark the starting and ending points to help make the straightest possible cut. We will use swaying movements to obtain our ham slices. Once we arrive to the bone, we will mark it with our universal kitchen knife. This has two purposes, to take away the meat from the bone and obtain the slices easily, and to avoid dulling the knife by hitting the bone. We will continue these actions until we see the central lengthwise bone, once we arrive to this point, we have finished with this part.
STEP 2
Turn the ham around
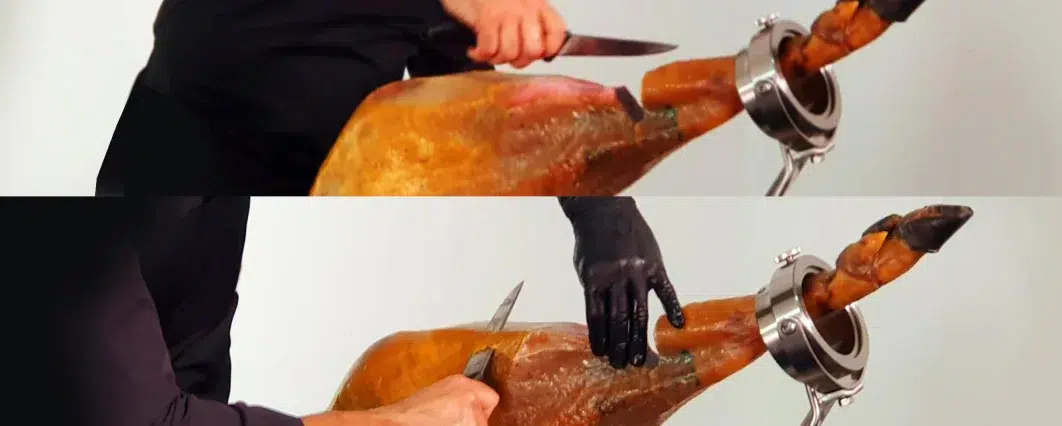
It is very important to keep the knife clean by using a paper towel. A clean knife slides much better on the ham surface. We start the ham cutting by making a cut below the bone and then we will turn it around exactly at the point of the ham with the cut. Then we will make a diagonal cut towards the previous one obtaining a wedge shape cut.
Following we mark the starting and end points to help us make straight cuts. We clean the area that we intend to cut for immediate consumption.

Once cleaned and start & end points marked, we are ready to start carving the tastiest part of the ham. It is important to keep the cuts leveled from start to finish (between 4 and 7 cm) making the slices a thin as possible. Once we arrive to the length wise bone, we have finished with this area.
STEP 3
Plate presentation
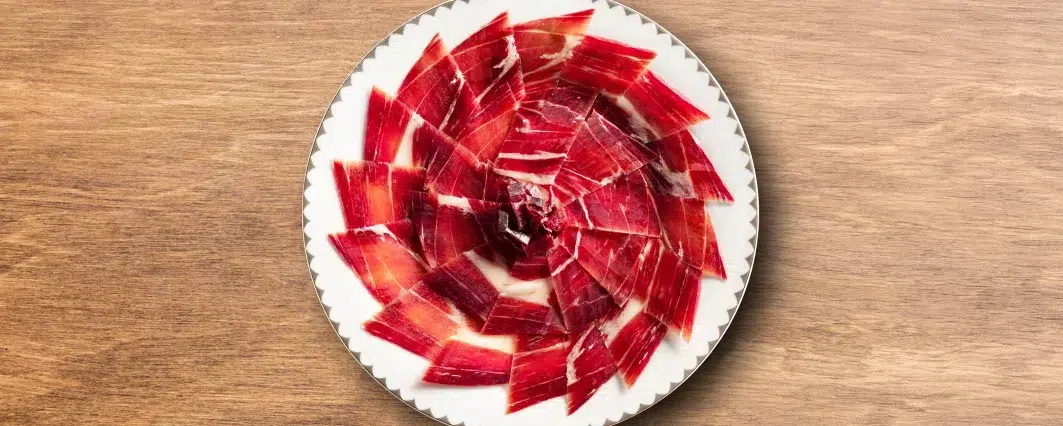
In circular presentation. In square presentation by staggering the slices.
STEP 4
Storing the ham
The ham must be stored by covering it with plastic clear film only in the area where we are carving. The rest of the ham will be kept uncovered allowing it to continue its curing process.

we work
worldwide
Our products are present in 35 countries in the world, spread across Europe, Asia, Oceania, Africa and America (having a subsidiary in the Unites States).


